• About the phone book
You can store up to 250 numbers and associated names in your phone’s
memory.
Stored numbers may be up to 32 digits long.
Stored names may be up to 26 characters long.
You can not store identical names into your phone (i.e., John, John);
make sure that like names are somewhat different in the phone book
(i.e., John, Johnny).
Replace?
followed by the currently stored name displays when storing
a name already in memory.
About the menus
The phone book has several menus from which you can choose.
Press
Names
and then scroll to the desired item:
•
Search
allows you to search for a specific name.
•
Add new
allows you to enter new names and numbers.
•
Options
lets you choose your scrolling view, as well as to show
memory status.
•
1-touch dialing
allows you to assign up to seven one-touch dial
locations (see page 53 for details).
•
Caller groups
allows you to rename or change the ringing tone
for a caller group.
•
Erase all
lets you erase every name and number in your phone book.
You can erase one name and number at a time by pressing
Details
,
then
Options
when viewing a name already in the directory.

[ 25 ]
Phone book
Using the phone book
1
Press
Names
.
2
Scroll to the desired item (for example,
Add new
).
3
Press
Select
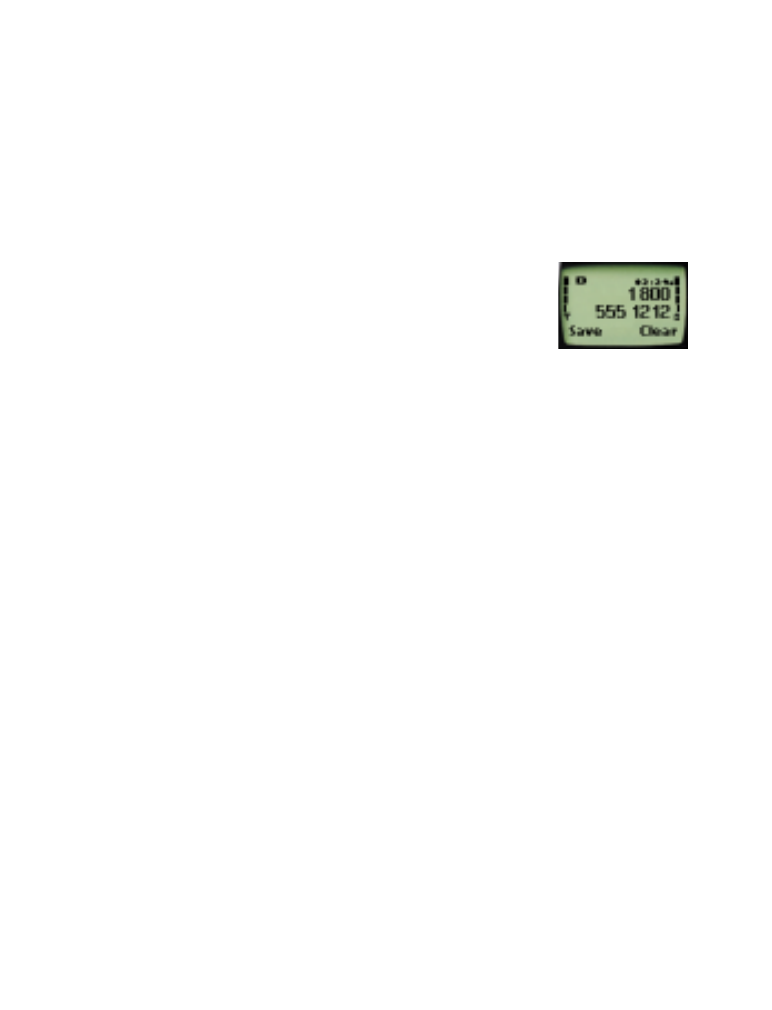
Or, as a shortcut, from the Start Screen:
1
Enter the phone number and press
Save
.
2
Enter a name at
Name:
if you wish (optional).
3
Press
OK
.
Scrolling view
There are three different options on how you can view the phone book.
Name+number
is the default view.
•
Name+number
displays individual names and numbers stored in your
directory. Only one name displays on your screen at a time, with the
corresponding phone number. Use the scroll keys to view other names.
•
Name list
shows all stored names in a scrolling list. Three names
appear at any given time. To view other names in the directory, scroll
back and forth through the list using the scroll keys.
Name list
is
the default setting.
•
Name only
shows individual names only. To view other names, use
the scroll keys. You can view the corresponding phone number by
pressing
Details
, then scrolling up or down.
Selecting your scrolling view
1
Press
Names
.
2
Scroll to
Options
, then press
Select
.
3
Press
Select
at
Scrolling view
.
4
Scroll up or down to select either
Name list
,
Name+number
, or
Name only
, then press
OK
.

[ 26 ]